Beer Cheese Dip

Beer Cheese Dip

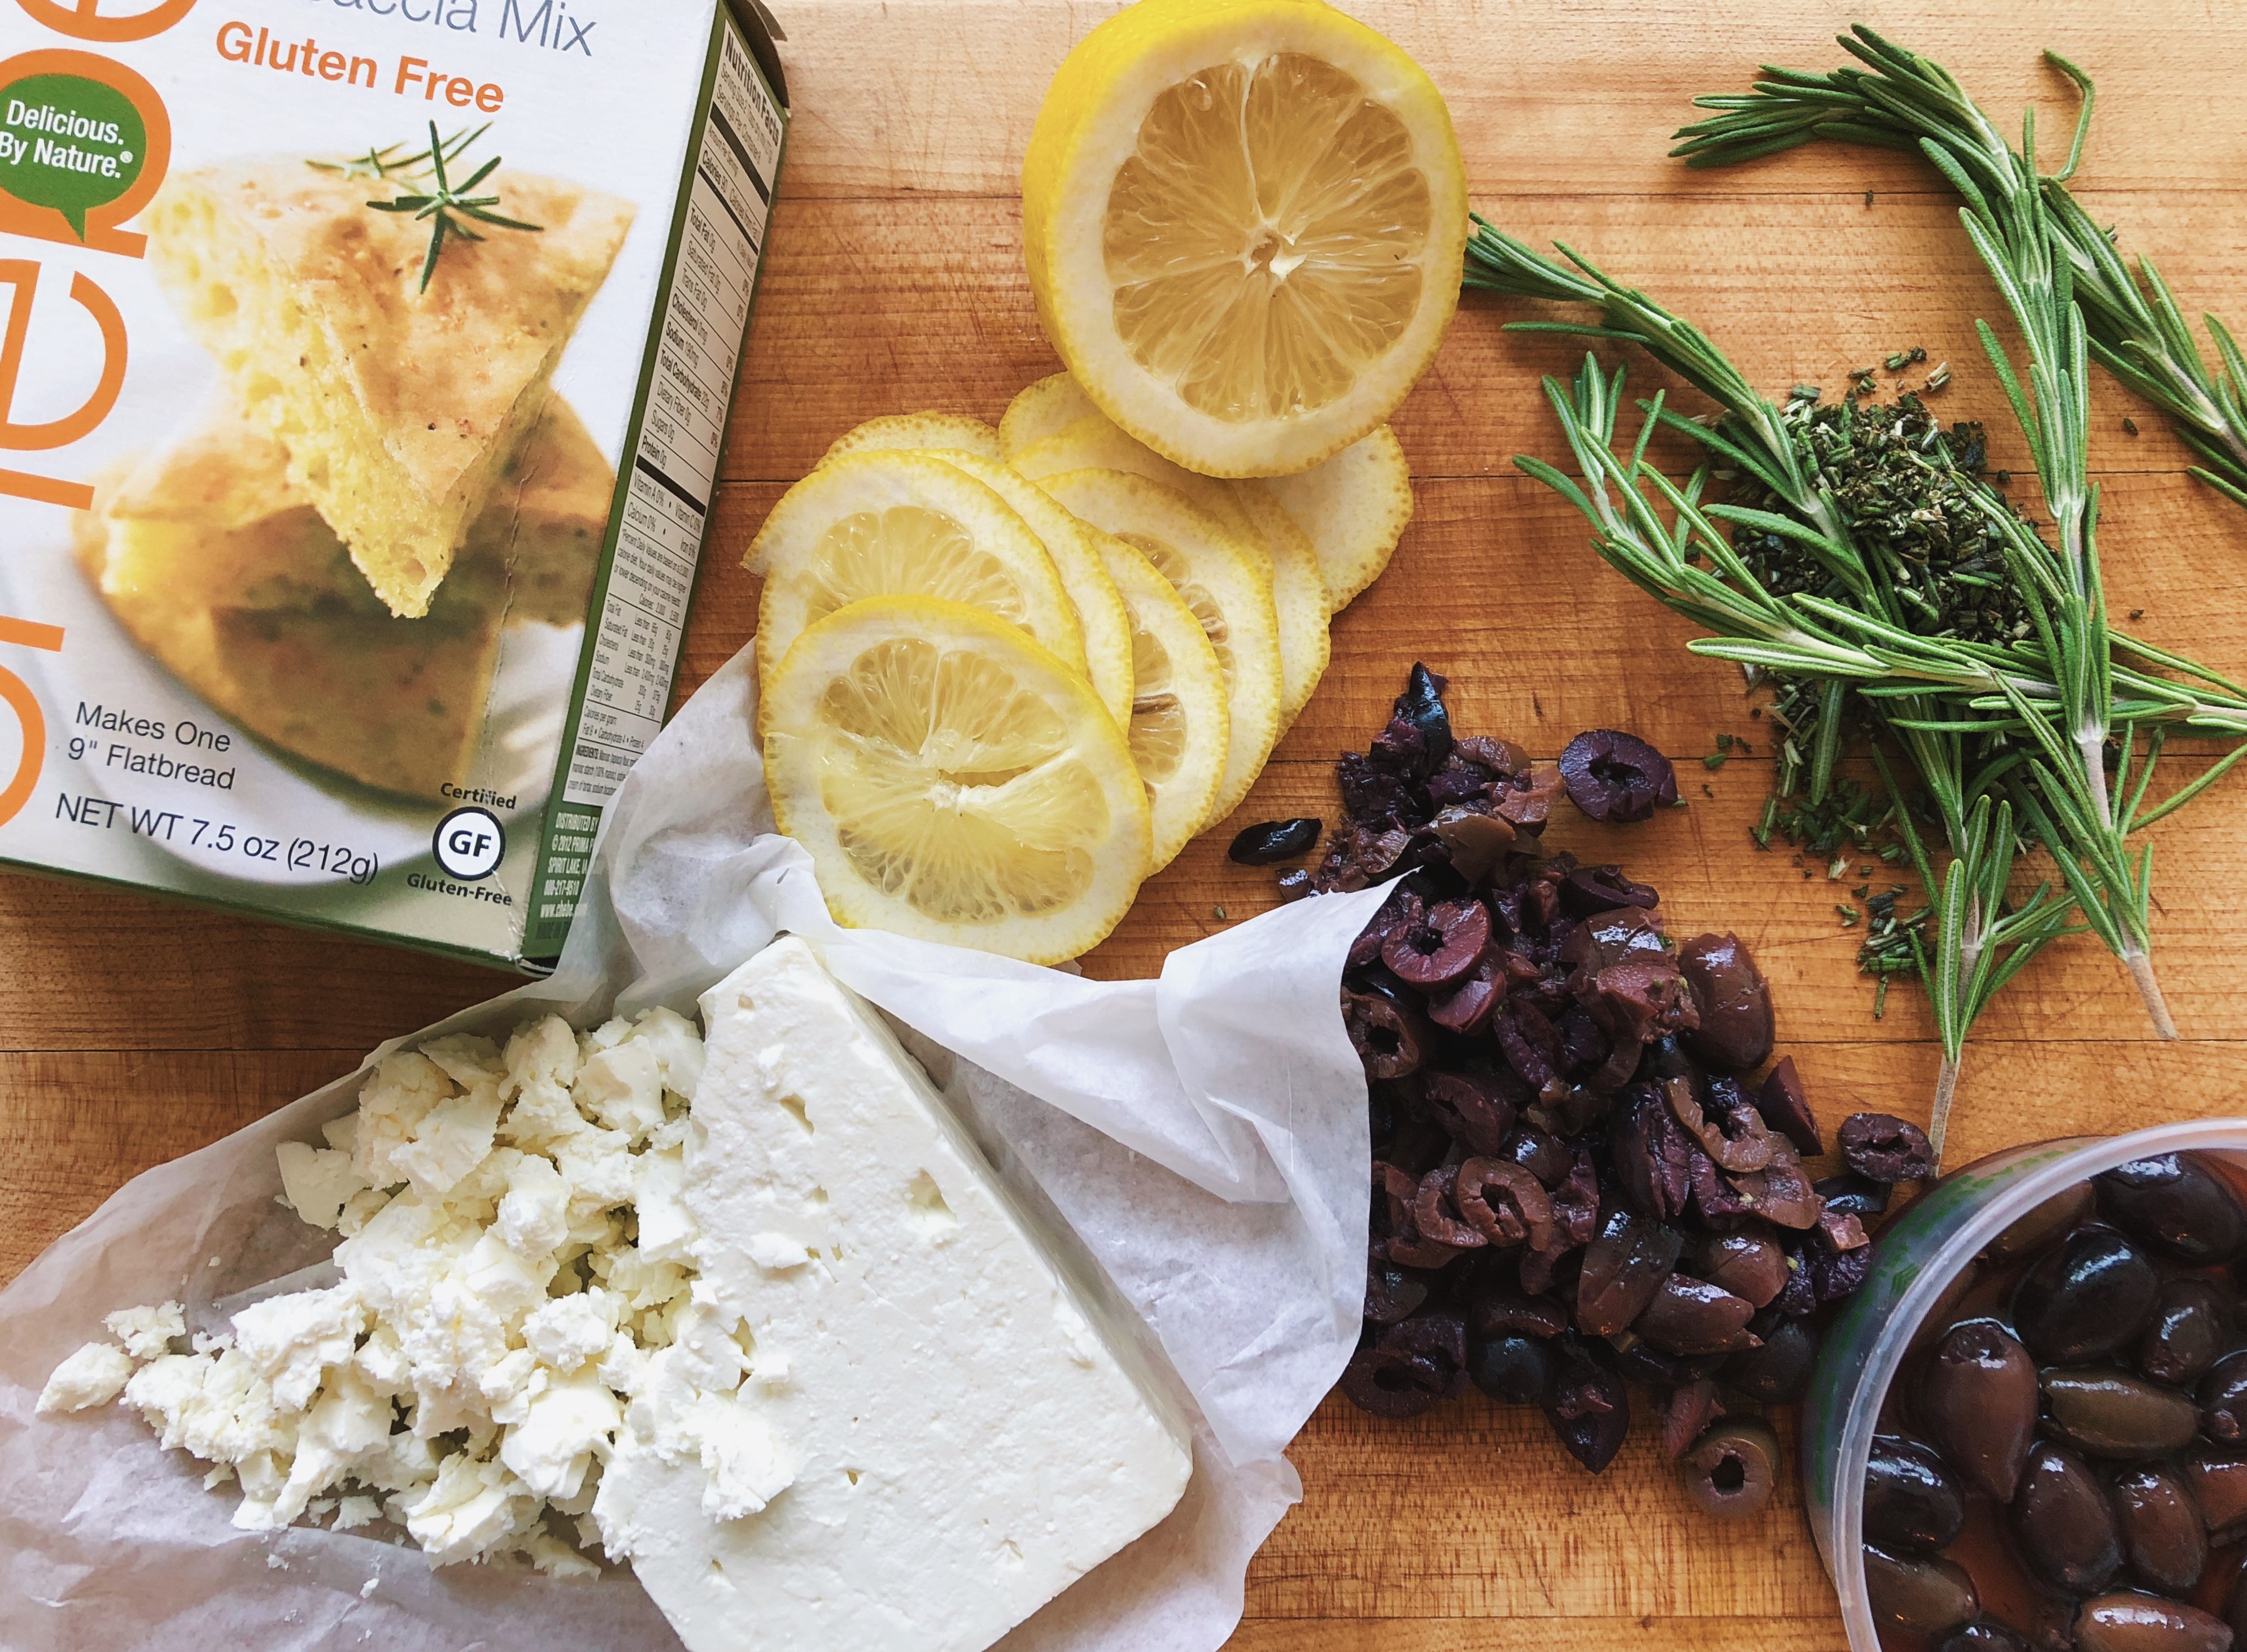
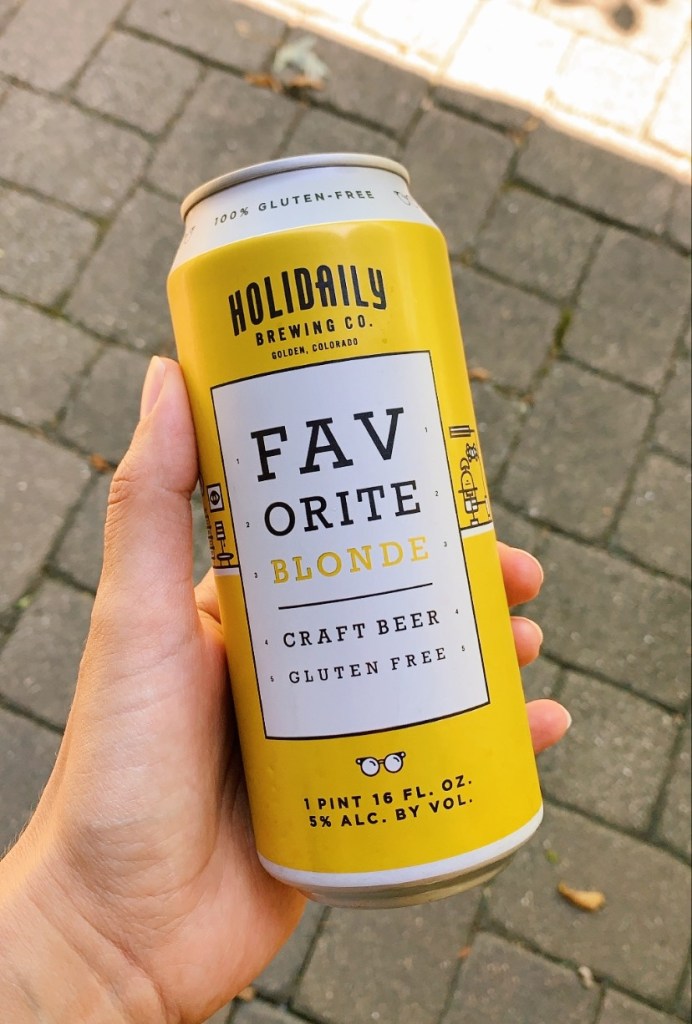
I recently came across Holidaily Brewing, a 100% gluten-free brewery in Colorado with incredible beer that is totally safe for celiacs. I absolutely love their IPA and their stout is the perfect, not-too-heavy, fall beer, but the real sleeper is their blonde ale which is mild but flavorful and perfect for cooking with.

As the weather in Chicago has suddenly started to feel like fall, and with football season right around the corner, I have been experimenting with some different comfort food snacks for during games and for outdoor get togethers with friends. I am always a big fan of recipes that are low mess, don’t require the oven and use ingredients that I am likely to have in the fridge at home. This beer cheese dip is all of those things and is a serious (socially distanced) crowd pleaser.

It is super cheesy with a little bit of spice and tanginess and the Holidaily Brewing Company blonde ale adds a perfect malty, hoppy flavor to balance everything out. I paired the dip with gluten-free pretzels but it would also go great with some warm bread or veggies. As we get further into fall, I have a feeling that this would also be delicious warmed up and paired with hot pretzels…it may just be something I try the next time I make it!

Ingredients: (Total Time: 10 minutes. Serves 6 ):

  • 8 oz. package of cream cheese
  • 1.5 cups shredded, sharp cheddar cheese
  • 1/2 cup Fage 2% Greek yogurt
  • 2 tbsp ranch seasoning mix
  • 1/2 cup Holidaily Brewing blonde ale (or any other blonde ale)
  • 1/4 tsp smoked paprika
  • 1/4 tsp cayenne pepper
  • 1 tsp Sriracha
  • 1/4 tsp Worcester sauce

Instructions:

  1. Add all ingredients to a food processor or high powered blender and blend until completely smooth.
  2. Serve with pretzels, chips, veggies, warm bread or anything else your heart desires.
  3. Enjoy!

One Pot Quinoa Chili

One Pot Quinoa Chili

Well, it has been a while since I last shared a recipe and I am going to use the “2020 has been crazy” card as part of my excuse. Josh and I have been riding out the majority of quarantine at our parent’s places so I have been able to get a lot of feedback on some ideas I had been playing around with and, with a bit of trial and error, I’ve come up with a few recipes that are a big hit.

This One Pot Quinoa Chili has been a favorite with my family. It has a ton of vegetables, uses way less meat than standard chili, the quinoa lightens things up a bit and the clean up is really easy. It is full of flavor especially if you let it simmer for a few hours and makes a ton of food, which I see as a bonus because it tastes even better the next day. I also cannot stress enough how much better homemade chili seasoning is to store bought. Having control of the amount of each seasoning that you use makes such a difference to the flavor and the majority of store bought seasoning mixes have all sorts of additives, like gluten, which are completely unnecessary. Plus, the addition of cinnamon to this recipe adds a bit of sweetness and warmth that is seriously delicious!

I recommend topping this chili off with a dollop of greek yogurt, diced onion, cilantro and a bit of shredded cheese but it is excellent on it’s own as well. If you are vegan or vegetarian you can absolutely omit the ground beef all together add a bit more quinoa (maybe 1/2 cup) and this would still be a great meal.

Ingredients: (Prep Time: 30 min. Total time: 70 – 90 min. Serves: 8):

  • 1 tbsp. olive oil
  • 1 lb. ground beef (I prefer 90/10)
  • 5 cloves garlic, minced
  • 1 large yellow onion, diced
  • 5 bell peppers (I like to do a few green and a few other colors), chopped
  • 2 poblano peppers, seeded and chopped
  • 1, 4.5 oz. can diced green chilis
  • 3 chipotle peppers in Adobo Sauce, diced, plus 2 tbsp. sauce
  • 1, 28 oz. can diced tomatoes
  • 3, 15 oz. cans black beans (do not drain)
  • 1 cup quinoa
  • 2 cups water
  • 3 heaping tbsp. chili powder
  • 1 tbsp. cumin
  • 2 tsp. salt
  • 1 tsp. paprika
  • 1/2 tsp. cinnamon
  • 2 tsp. oregano

Optional Toppings:

  • Cilantro
  • Lime
  • Diced onion
  • Greek yogurt
  • Shredded cheddar
  • Tortilla chips

Instructions:

  1. In a large pot heat olive oil over medium high and add ground beef. Cook until beef has just barely turned brown.
  2. Add in garlic, onion, bell and poblano peppers and cook until they start to sweat and cook down a bit (about 5 minutes).
  3. Mix in diced green chilis, adobo peppers and sauce and all spices. Continue to cook for another 5 minutes.
  4. Stir in tomatoes and beans and cook for an additional 5 minutes.
  5. Add in quinoa and water. Stir until quinoa is well incorporated. Bring to a boil and then cover and simmer for at least 40 minutes stirring occasionally to make sure nothing sticks to the bottom of the pot. If you can let it simmer a bit longer, go for it, the flavors keep getting better.
  6. Serve with whatever toppings your heart desires!

Fall Inspired Skillet Chicken Pot Pie

Fall Inspired Skillet Chicken Pot Pie

Fall weather is officially here and I’m excited because I get to share the fall recipes I’ve been working on. As much as I love summer and warm weather, I also love the comfort food that comes with the season change.chebe-1.jpg

In my opinion, chicken pot pie epitomizes comfort food but can be a bit heavy. I decided to play around with a typical chicken pot pie recipe, lighten it up, and add in some fall flavors.

The filling is full of vegetables and is flavorful without being overly creamy. The crust is slightly more chewy than a typical pie crust, but I enjoy it because it feels more substantial and isn’t super oily.Processed with VSCO with c1 preset

This recipe is low mess since I made the filling in a large (12 inch) cast iron pan and threw the crust loosely on top before tossing it in the oven. If you don’t own a cast iron pan, you can still make this recipe by transferring ingredients into a pie dish and baking it.

I mentioned in a recent post that I’m working with Chēbē to create a few recipes using their baking mixes. I absolutely love their products because they’re versatile, grain free, and they taste great. I used their all purpose baking mix for the crust in this recipe and it worked wonderfully.

It was easy to work with and didn’t fall apart or crumble like some of the other crusts I’ve tried in the past. I have seen Chēbē products in Whole Food’s or you can order boxes through their website.

If you are looking for the perfect recipe to kick off fall with, give this a try!

Ingredients (Prep Time: 35 min. Total Time: 90 min. Serves: 6)

For the Crust:

  • 1 package Chēbē All Purpose Baking Mix
  • 1 tsp. baking soda
  • 3 Tbsp. cold butter, cut into tiny cubes
  • 2 eggs
  • 2 Tbsp. milk
  • 2 Tbsp. water
  1. In a medium mixing bowl whisk together Chēbē All Purpose Baking mix and baking soda.
  2. Using a fork, mash the butter into the flour mixture until it is crumbly and well incorporated.
  3. Add in eggs, milk and water and mix until stretchy and smooth. Form mixture into a ball. If the dough is a bit dry, add in more milk 1 Tbsp. at a time.
  4. Cut two large pieces of parchment paper and lay dough between them. Roll into a 12 inch round and place it in the freezer while you finish the filling portion of the recipe (leave it in between the parchment paper).

For the Filling:

  • 3 Tbsp. olive oil
  • 2 large carrots, diced
  • 1 large yellow onion, diced
  • 3 stalks celery, diced
  • 4 cloves garlic, minced
  • 2 Tbsp. fresh sage, minced
  • 3 cups butternut squash, cut into 1/2 inch cubes
  • 4 cups shredded kale
  • 1/4 cup gluten-free flour (I use cup4cup)
  • 1 rotisserie chicken, shredded (about 3 cups)
  • 4 cups chicken broth
  • Salt & Pepper to taste
  1. Preheat oven to 400 degrees.
  2. In a large skillet, heat oil over medium heat. Add in onions and sauté until they  start to soften, about 5 minutes. Once softened, add in garlic, sage, carrots, celery, and squash. Sauté until the celery begins to turn translucent, about 5 more minutes.
  3. Add in kale and sauté until it just starts to wilt. Sprinkle flour over the vegetables, stir until combined.
  4. Pour in chicken broth bring to a boil. Reduce to a simmer and stir constantly until it  the mixture begins to thicken up, about 5 minutes.
  5. Once thickened, turn off the heat and add shredded chicken.
  6. Remove dough from freezer and peel off parchment paper. Lay dough round over the top of the filling mixture in the skillet.
  7. Place the skillet in the oven and bake for 35 – 40 minutes until the crust is golden brown and the filling is bubbly.
  8. Remove from oven and allow the pie to cool for 15 minute before serving. Enjoy!

Chēbē Feta, Olive & Rosemary Focaccia

Several years ago, I tried Chēbē’s products at an expo and fell in love. The mix itself is free from pretty much every allergen, is vegan, and tastes wonderful. It is incredibly versatile and can be used in both sweet and savory recipes. I have recently partnered up with Chēbē and will be developing a few recipes with their products over the next couple of months.

Chebe 1.jpg

The first recipe I came up with is this Feta, Olive and Rosemary Focaccia. Since the dough is made with tapioca and there is cheese added to it, the bread is perfectly crispy on the outside while keeping a chewy texture inside.

Chebe 2.JPG

If you wanted to use this for sandwiches, I could see it being delicious with Italian meats, vinegar and spices. That being said, it’s packed with flavor on its own and I enjoyed it dipped in a bit of olive oil with a glass of red wine. I will warn you, it is incredibly addictive and it didn’t last 24 hours in our apartment before we finished the whole loaf (there are only 2 of us).

Chebe 3.jpg

If you are interested in trying out this recipe, I have seen Chēbē products in Whole Food’s or you can order boxes through their website.

I hope you enjoy this recipe as much as I did!

Ingredients (Prep Time: 15 min. Total Time: 60 min. Serves: 8):

  • 1 package Chēbē Focaccia Bread mix
  • 1/2 cup shredded mozzarella
  • 1/2 cup crumbled feta
  • 2 eggs
  • 2 Tbsp. olive oil
  • 1/2 cup pitted kalamata olives, diced
  • 1 Tbsp. fresh rosemary, minced
  • 4 Tbsp. milk

Optional Garnishes:

  • Thinly sliced lemon rounds
  • A few extra olives
  • Rosemary
  • A sprinkle of flaky sea salt and black pepper
  • Olive oil
  1. Preheat the oven to 375 degrees. Line a baking pan with parchment paper and lightly grease with 1 tsp. of olive oil.
  2. In a medium mixing bowl combine Chebe Focaccia bread mix, mozzarella, feta, eggs, olive oil, kalamata olives, rosemary and milk.
  3. Knead with your hands until everything is well incorporated and the mix is smooth, springy and dough like.
  4. Place dough on baking tray and press out into an oval shape, about 10 inches across at its widest point.
  5. Using your finger or the back of a spoon, poke 10 or 15 dents in the top of the dough.
  6. Brush the top of the focaccia with a bit of olive oil and top with lemon rounds, olives, feta, rosemary, salt and pepper.
  7. Bake for 40 – 45 minutes, let cool slightly and enjoy!

Not-So-Classic Mac & Cheese

I’ve always considered Mac & Cheese an ultimate comfort foods However, as I got older, I started eating gluten-free and my taste buds evolved a bit and boxed mac and cheese lost its appeal.

Banza 2

I came up with a healthy gluten-free mac and cheese recipe using Banza noodles made from chickpeas. They are high protein and have a unique texture. I think they taste especially great in this mac & cheese recipe and add something interesting to it.

Banza 1

A fellow blogger recommended cooking the noodles in chicken broth for extra flavor which was a great idea. I also threw in some broccoli to cut down on the carbs a bit and add some extra veggies. However, that is totally optional and can be omitted. This is a great recipe for a healthier twist on classic Mac & Cheese that both kids and adults will enjoy. This recipe will make about 3-4 servings as a side dish or 2-3 servings as a meal.

Ingredients (Total time: 30 min. Serves: 8):

  • 1 box Banza Noodles
  • 2 cubes chicken bullion
  • 2 cups chopped broccoli florets
  • 2 Tbsp. butter
  • 2 Tbsp. gluten-free all purpose flour (I usually use Bob’s Red Mill)
  • 1 ½ cups 2% milk
  • ¼ tsp. paprika
  • ¼ tsp. garlic powder
  • ½ tsp. pepper
  • 1 ½ cup shredded cheddar
  • ½ cups shredded parmesan
  • extra salt and pepper to taste
  1. Cook noodles in a medium pot according to package directions, but throw 2 cubes of chicken bullion into the boiling water. Once cooked, drain, place back into pot and set aside.
  2. Steam broccoli until completely cooked, drain and place in pot with noodles.
    In a medium sauce pan over medium heat, melt butter and stir in flour. Let the mixture bubble for about 1 or 2 minutes stirring the entire time.
  3. Slowly add milk to flour mixture about ¼ cup at a time whisking the entire time. Once the sauce starts to thicken, add the next ¼ cup of milk. Repeat until you have added all the milk and until the sauce is nicely thickened. Continuing to whisk the entire time.
  4. Whisk in paprika and garlic powder. Once incorporated, add in all of the cheese and whisk until totally melted.
  5. Pour the cheese sauce over the noodles and broccoli and mix in cheese sauce.